The Freezer Protocol: How to Keep Gluten-Free Bread From Turning Into Crumbly Ice Sponge

The Freezer Protocol: How to Keep Gluten-Free Bread From Turning Into Crumbly Ice Sponge
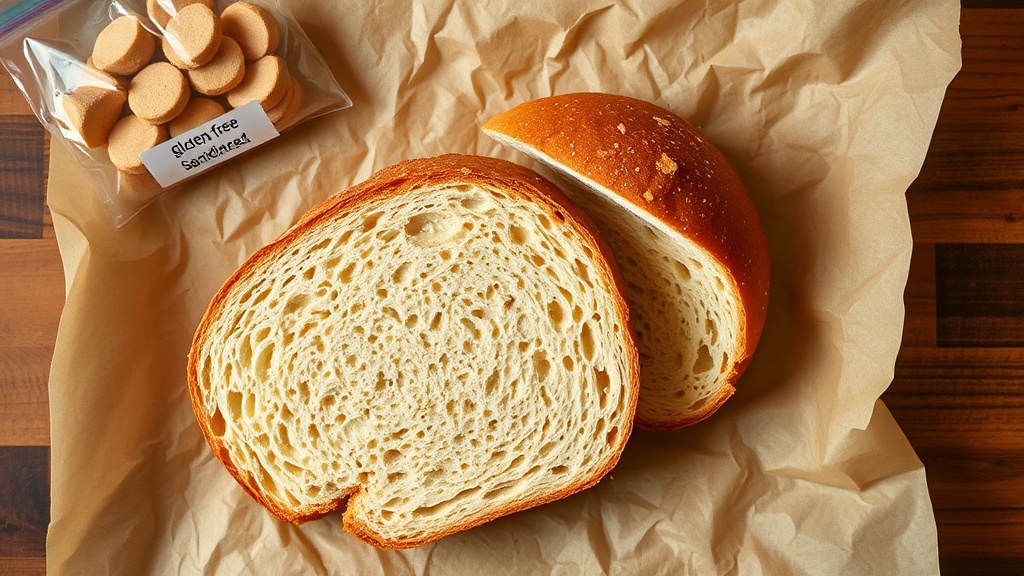
If your gluten-free loaf tastes great on day one and like drywall by day three, this is not your fault. This is starch retrogradation plus moisture loss, and both are fixable with process.
Most people either refrigerate bread (bad move for texture) or freeze the whole loaf and hack off uneven hunks like they're splitting firewood. We are not doing either.
The Verdict: freeze in slices, protect the crumb from air, and reheat with a two-stage method so you get springy center + crisp edge instead of freezer sadness.
Why GF Bread Stales Faster
In wheat bread, gluten helps maintain network integrity as starches reorganize after baking. In gluten-free bread, that structural safety net is weaker or absent. So once starch retrogradation starts, your loaf goes from "decent chew" to "crumb confetti" fast.
Three things accelerate the collapse:
- Refrigeration (cold speeds staling in bread texture terms)
- Large air exposure in storage
- Reheating too aggressively from frozen
Translation: your storage system matters as much as your recipe.
The Texture Lab Freezer Protocol (What I Actually Do)
Step 1: Cool completely before slicing
Do not slice warm bread. Warm slicing compresses crumb and traps steam. That trapped moisture becomes ice crystals later, which shreds texture on thaw.
Rule: wait until the loaf is fully cool to the center. Usually 2 to 3 hours for a standard sandwich loaf.
Step 2: Slice to a fixed thickness
Pick one thickness and stick to it so thawing is predictable.
- Sandwich slices: 11 to 13 mm
- Toast slices: 9 to 10 mm
Inconsistent thickness is why one piece toasts perfectly and the next one is wet in the middle.
Step 3: Pre-wrap in small stacks
I stack 2 slices with a small square of parchment between each pair, then wrap each mini-stack tightly.
Why this works:
- You reduce oxygen exposure after first opening
- You can thaw exactly what you need
- Slices separate cleanly without cracking
Step 4: Bag with air pressed out
Use a freezer-safe zip bag, press out as much air as possible, then label with date and loaf type.
My label format: Millet-Sorghum Tin Loaf | sliced 12 mm | 2026-03-13
Yes, this is nerdy. Also yes, this prevents mystery bread archaeology.
Step 5: Freeze fast, store flat
Lay bags flat in a single layer until frozen solid. Once frozen, stand them upright like files.
Fast freeze gives smaller ice crystals. Smaller crystals = less crumb destruction.
Reheat Protocol: Two-Stage, Not One-Blast
The classic mistake is full-power toast from frozen until dark outside and cold center. That gives you burnt crust, damp interior, and personal disappointment.
Use this instead:
- Stage 1 (gentle thaw): toaster oven or oven at 275 F for 6 to 8 minutes.
- Stage 2 (texture set): increase to 375 F for 2 to 4 minutes, or finish in toaster on medium.
You are separating core warming from crust development. This is basic thermal control and it works.
What Not to Do (If You Enjoy Good Bread)
- Do not refrigerate your gluten-free loaf unless you enjoy accelerated staling.
- Do not freeze unsliced loaves unless you plan to thaw the whole thing at once.
- Do not microwave to thaw unless the plan is to eat immediately; microwave thaw often turns crumb rubbery as it cools.
- Do not refreeze repeatedly. Every cycle costs structure.
My Timing Cheatsheet
- 1 frozen sandwich slice to room-temp soft: 20 to 25 minutes on counter
- 2 frozen slices to toast-ready: 6 to 8 minutes at 275 F
- Direct-from-frozen toast finish: additional 2 to 4 minutes at 375 F equivalent
If your loaf has high hydration or lots of whole-grain flour, add 1 to 2 minutes in Stage 1.
Bagel and Rolls Variant
For gluten-free bagels and rolls, slice before freezing (yes, even if it feels wrong emotionally).
- Bagels: split fully, freeze cut-side separated with parchment
- Rolls: halve if dense, freeze in pairs
Reheat cut-side exposed in Stage 2 for better edge crispness.
Celiac Safety Notes
- Store GF bread in a dedicated freezer bin away from wheat crumbs.
- Use dedicated toaster slots, toaster bags, or a separate toaster.
- If sharing a kitchen, label aggressively. "It looked gluten-free" is not a control plan.
Cost Check: Why This Beats Throwing Out Half a Loaf
In Chicago right now, many decent gluten-free loaves land around $8 to $13. If you lose 30% to staling, you are literally paying a texture tax for avoidable waste.
This protocol takes maybe 8 extra minutes on bake day and saves most of that loss.
Bottom Line
You don’t need a better freezer. You need a better system.
Freeze in consistent slices, minimize air exposure, and reheat in two stages. Your bread will taste like food instead of a compliance document.
Listen, I did the trial and error so you don’t have to.
Stay safe, eat well.
Excerpt: Gluten-free bread stales fast, but a simple freezer-and-reheat protocol fixes crumb collapse. Here’s the exact slicing, storage, and two-stage heating system I use.
Category: Techniques
Tags: gluten-free bread storage, freezer protocol, celiac kitchen safety, reheating method, texture lab