The Sifting Secret: Aerating Your Gluten-Free Flour Blends

Quick Tip
Always sift your gluten-free flour blends at least once before mixing to break up clumps and incorporate air.
Aerating Your Flour for Superior Texture
You will learn how the simple technique of aeration transforms dense, gritty gluten-free batters into light, professional-grade textures. Most home cooks overlook this step, but in a kitchen where wheat protein is absent, air becomes a critical structural component.
The Science of Density
Gluten-free flour blends, such as the King Arthur Measure for Measure or Bob’s Red Mill 1-to-1, are often composed of heavy, finely ground starches and nut flours. Because these ingredients lack the elastic network of gluten, they tend to settle and pack tightly in measuring cups. If you scoop directly from the bag, you are likely adding 20% more weight than the recipe requires, resulting in a heavy, "brick-like" crumb. By aerating the flour, you introduce microscopic air pockets that prevent this compaction.
The Three-Step Aeration Method
To achieve consistent results, do not simply shake the bag. Follow this precise technical workflow:
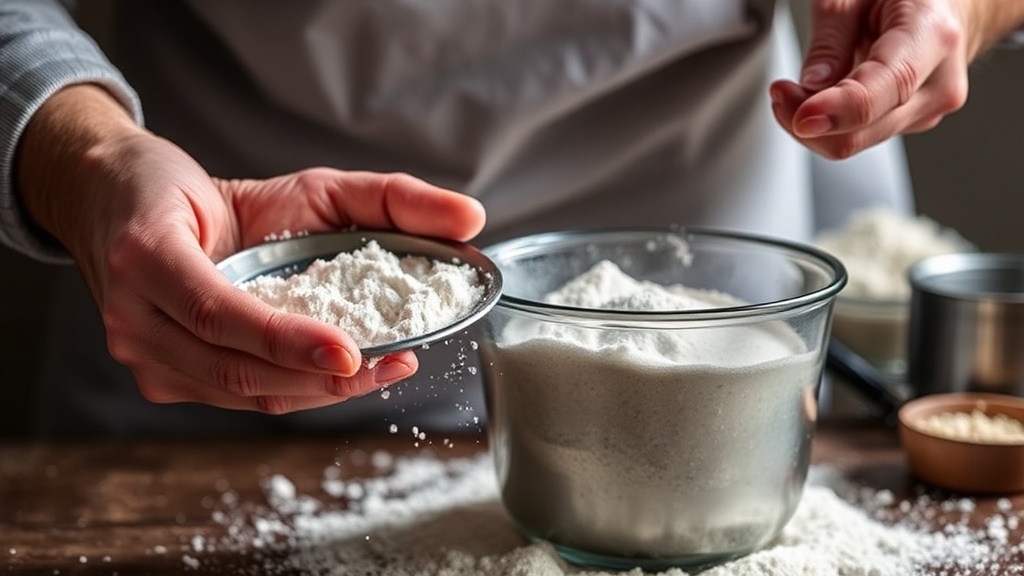
- The Whisk Method: Place your flour blend in a medium glass bowl. Use a wire balloon whisk to vigorously stir the flour for 30 seconds. This breaks up clumps of rice flour or starch and introduces volume.
- The Sifting Standard: Pass the whisked flour through a fine-mesh sieve (a chinois or standard stainless steel sifter) at least twice. This is particularly vital when working with heavier grains like sorghum or buckwheat.
- The Spoon-and-Level: Only after the flour is aerated and sifted should you use a spoon to lightly pack it into your measuring cup. Level the top with a flat-edged knife.
When to Double Sift
If your recipe involves combining dry ingredients with a liquid base—such as a pancake batter or a sponge cake—sift the dry ingredients together with your leavening agents (baking powder or soda). This ensures the chemical leaveners are perfectly distributed, preventing localized pockets of reaction that cause uneven rising. For more advanced texture management, ensure you understand the golden ratio of hydration to complement your aerated dry ingredients.
"Precision in the dry stage dictates the success of the wet stage. If your flour is heavy, your bake will be heavy, regardless of how much leavening you add."